Zelda Dungeon Tiles
The Legend Of Zelda: Link’s Awakening is an action-adventure game for the original GameBoy. I wanted the tile sheets for the game’s dungeons so that I could make my own.

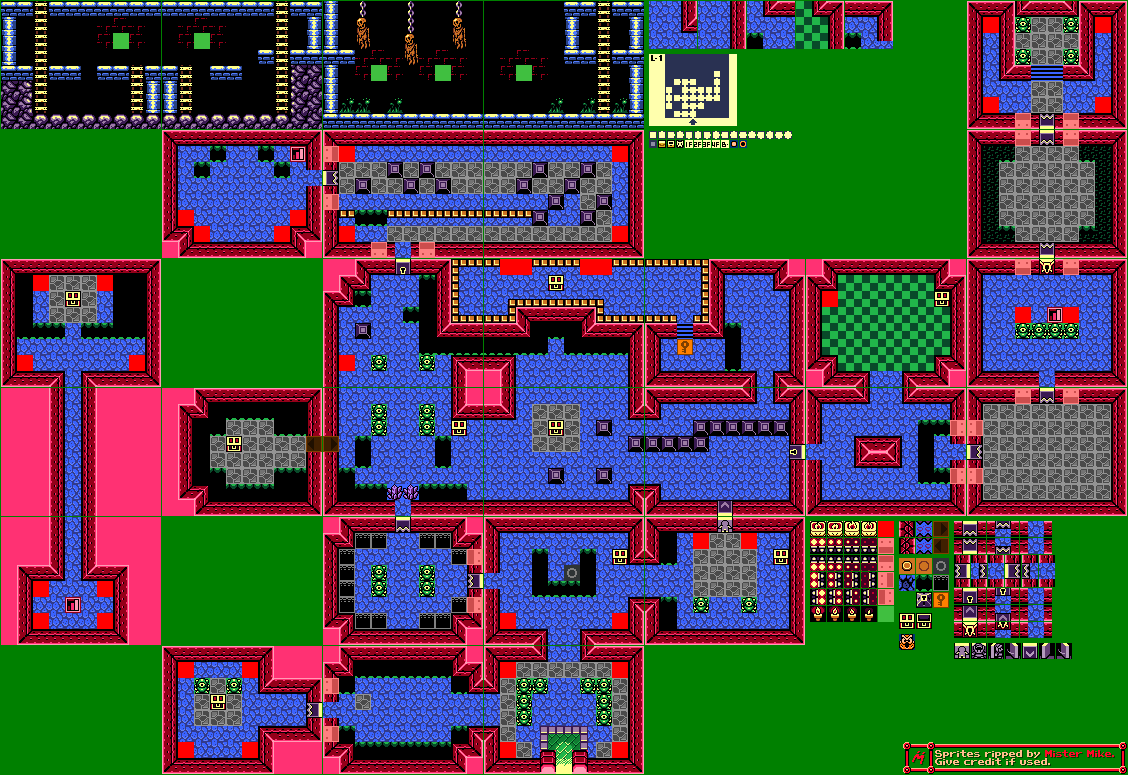
I found some maps assembled by Mister Mike

Unfortunately these are the full map. Also it has 1 pixel wide padding between the rooms.

The Plan
- Make notes. Make folders.
- Crop a dungeon into rooms, without padding.
- Crop rooms into tiles. Delete duplicates, name tiles, move to folders.
- Convert to black & white. If the tiles are different, recreate them.
- Assemble a sheet of static tiles.
- Assemble the sprite sheets of animated and interactive object tiles.
I wanted to crop the map, remove the padding, then isolate the unique tiles in order to stitch them into a sprite sheet.
For this, I used ImageMagick, Bash scripts, my default image viewer, and Photopea, a free browser-based alternative to Photoshop.
I made folders to prepare a workflow [pic of folders?] anims common rooms temporary tiles
For each dungeon I made a note for analysis. Contents " Done Sheet Arrangement Lists Static Animated Objects Enemies Original Image Properties Colours Notes Overall Analysis: Reused From Others Reusable For Others Objs Absent Commands "
I pick two rooms from the source image that will give me the widest variety of tiles
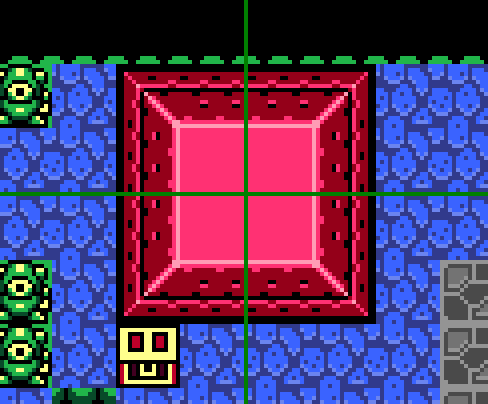
[pic L1 room L of miniboss]
I tile crop the room
convert room. -crop 16x16 +repage a%04d.png
[pics of individual tiles stitched in a row]
I output the results into the Tiles folder and name them until all are accounted for.
I search the map for the remaining tiles and crop them out by hand.
I take a note of tiles that are reused in later dungeons so I won’t need to extract them. [pic Statue Cy 2 in L2] [pic Statue Cy 2 in L4] [pic Statue Cy 2 in L5] [pic Statue Cy 2 in L8]
In the monochrome game it is easier to reuse tiles but in Link’s Awakening DX two tiles of the same pattern could have a different colour. [pic Wall Toggle Orange] [pic Wall Toggle Blue] [pic Wall Toggle BW] [pic Wall Toggle BW]
First I made Bash scripts to help append images together horizontally or vertically.
if [ "$1" = "" ]; then
  echo "Usage: drag in images as parameters to append horizontally"
fi

convert "$@" +append "temp$RANDOM.png"
&2>/dev/null
Things to note:
- I put a safety condition and helpful error if no input files are supplied as arguments.
- I redirected all errors to the bin because they stop the rest of the script running. I’ll inspect the results if something goes wrong.
- I name the output image with a random number to avoid overwriting it when the script is run again.
With the
+appendcommand ImageMagick automatically resizes the “canvas” area to fit the last image added. Other commands require the+repageoption to do this, otherwise the canvas either stays the same size as the first input image or creates an animated GIF.
This takes a dungeon map, crops it into rooms with padding along the top and left edges, removes the padding, leaving the 160x128 pixel rooms, then crops every room into 16x16 tiles.
convert $1 -crop 161x129 +repage c%03d.png
convert c* -crop +1+1 +repage b%03d.png
convert b* -crop 16x16 +repage a%04d.png
2>/dev/null
Some assumptions and preparation must be made. I reserved a folder for the intermediate images to avoid overwriting existing files, or selecting unwanted files that happen to be named “c001.png” etc. I cropped the source image to a regular size.
Issues
This process produces a lot of duplicates. For uncommon tiles I am sometimes better dipping into the map and grabbing the tile by hand. Some tiles are animated, but they appear in the sheet with padding around every frame.
convert $1 -crop 17x17 +repage a%01d.png && \
convert a* -crop +1+1 +repage b%01d.png && \
~/genIMAppendHorizontal.sh b*
I call my helper script from another script.
Stretch goals
Use Python image recognition to pick out only the unique tiles.
I think the primitive graphics might be suitable for this task since the sizes are regular, the patterns are consistent, the colours are few.